The ultimate guide to making a YouTube video

Early days
My first video was posted on May 1 2020 in the middle of the pandemic. I started off by presenting 5 business ideas in 5 mins, appropriately naming the YouTube channel "5 Mins 5 Ideas".
My camera gear was pretty fancy to say the least. A mobile camera leaned against a 2L water bottle (for stability) on my bed and me sitting on the floor with my back against the wall because you know, posture.
The process for making a video was quite simple in the early days.
- Brainstorm 5 ideas
- Write dots points for each idea
- Record in one take
- Edit
- Post video on YouTube
Brainstorming 5 ideas was easy, it just required some creativity. Writing the dot points was pretty easy too. Recording it in one take was the hard part. I had yet to learn that most YouTubers made their videos in multiple takes, only to edit it all together in the end. I also didn't know that you could remove "uhms" and silences from the video to make for a smoother flow. So I would memorise the whole script and record the 5 min video in one take. What an absolute amateur.
Looking back at it, getting started was the goal. I knew I would make poor quality videos but it was the process that mattered. Quantity and consistency I optimised for. I wasn't too harsh on myself when it came to quality even though my expectations were high. There is something to be said about learning in public wherein the progress and improvements you make is more important and interesting than the final outcome.
Editing was also easy. As I made the videos in one take, there wasn't much to do. Finally posting the videos was a breeze given my naivety when it came to making the thumbnail, title and descriptions.
Existing process
1.5 years and 98 videos later, there are a few things that I've learnt. The general process is the same but each step is a lot more nuanced. Making a video isn't as easy as I originally thought. Let's expand on each of the steps below.
- Research a video topic
- Make a detailed script
- Record the video
- Edit the video
- Make a thumbnail
- Upload the video
Research a video topic
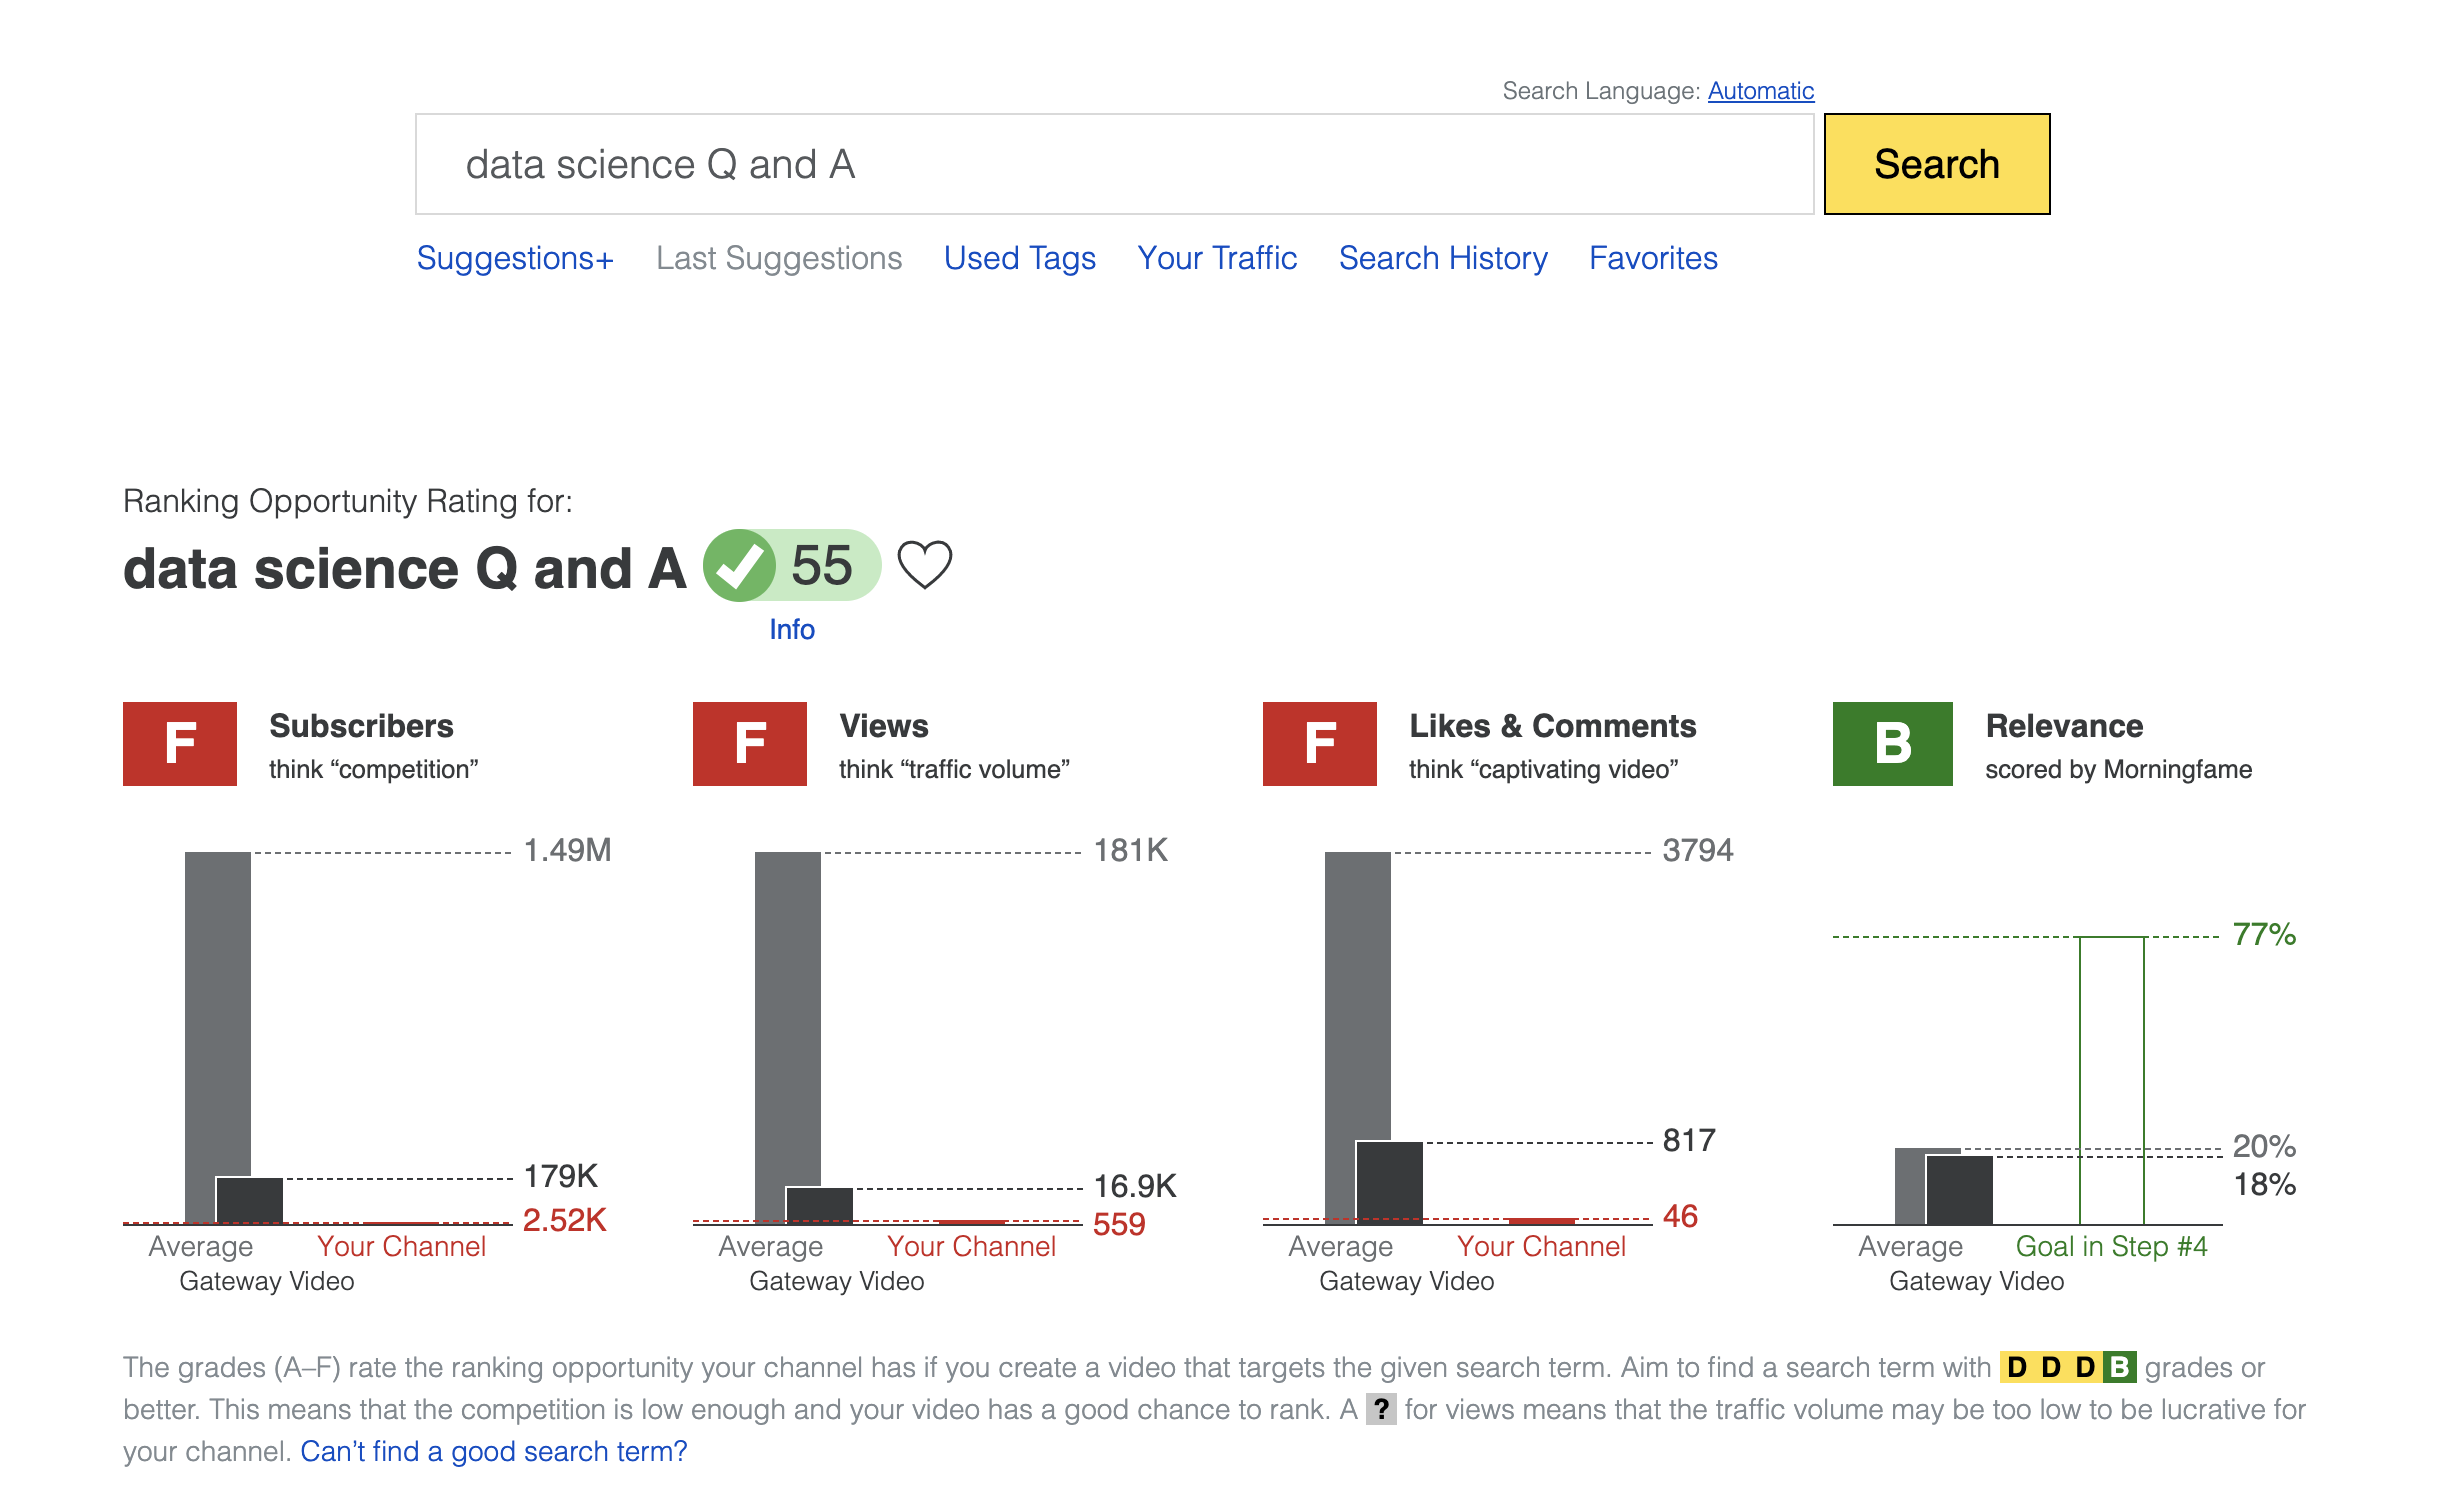
This step involves me researching potential video topics for the next video. My primary tool for this is MorningFame. It allows me to search up video topics and survey how they rank in terms of subscribers, views, likes & comments and relevance. My channel stats are compared to the average video in each of the criteria. The goal of the optimisation is to achieve at least a D for each.
Once the video topic and term is settled, I will go through the motions of coming up with a compelling title and tags for the video.
Make a detailed script
By this stage, I know exactly what the video will be on. The next step is to come up with a detailed script. The script is in 3 sections: Hook, Intro, Body. The hook is the compelling beginning of the video that hooks the video. It could be something like "Don't you hate feeling bored while doing chores?". It's something that will draw the attention of the viewer to compel them to watch the video. The intro is when I introduce myself to the viewer. For me it's as simple as "I'm Samanvay, a data scientist living in Sydney, Australia". Keep this as short as possible. The body is the meat of the video. This is the unique value proposition of your video. I try to make this as detailed as possible. I have tried using dot points before, but it leaves too much room for change. Knowing exactly what to say removes a lot of guess work from filming and it allows me to focus solely on my expression.
I use Notion to store all of my video scripts. I couldn't recommend it highly enough.
Record the video
This is the easiest step of the video-making process. My usual setup is shown below in figure 2. Lighting is key. You can also see my laptop propped up in one corner. While recording, I will read the script off of the laptop. Filming is done in a piecewise fashion. I will record a section at a time, repeating lines as much as needed to the expression right.
Depending on the video, I can have a number of filming set ups. In that case, I will finish all my segments for a given set up before moving onto the next.

Edit the video
I use Final Cut Pro X as the editing software of my choice. When I started off, I used a iMovie which is great to get started with. My editing workflow consists of two stages, stage A & stage B.
Stage A is the editing of the A roll. This is just cleaning up all the clipping and getting the main footage of me talking in a flowing sequence. This means removing all awkward silences and 'uhms' and 'ahs'. In this phase, I try to create tight footage where there are no gaps. You can expect to see some jump cuts here.
Stage B is where I will add in special graphics and fonts. This is the interactive part of the video editing process. I liken this to adding spice and flavour to the footage. This phase will involve adding B-roll footage, animations, interesting transitions and a music track for the video.
Make a thumbnail
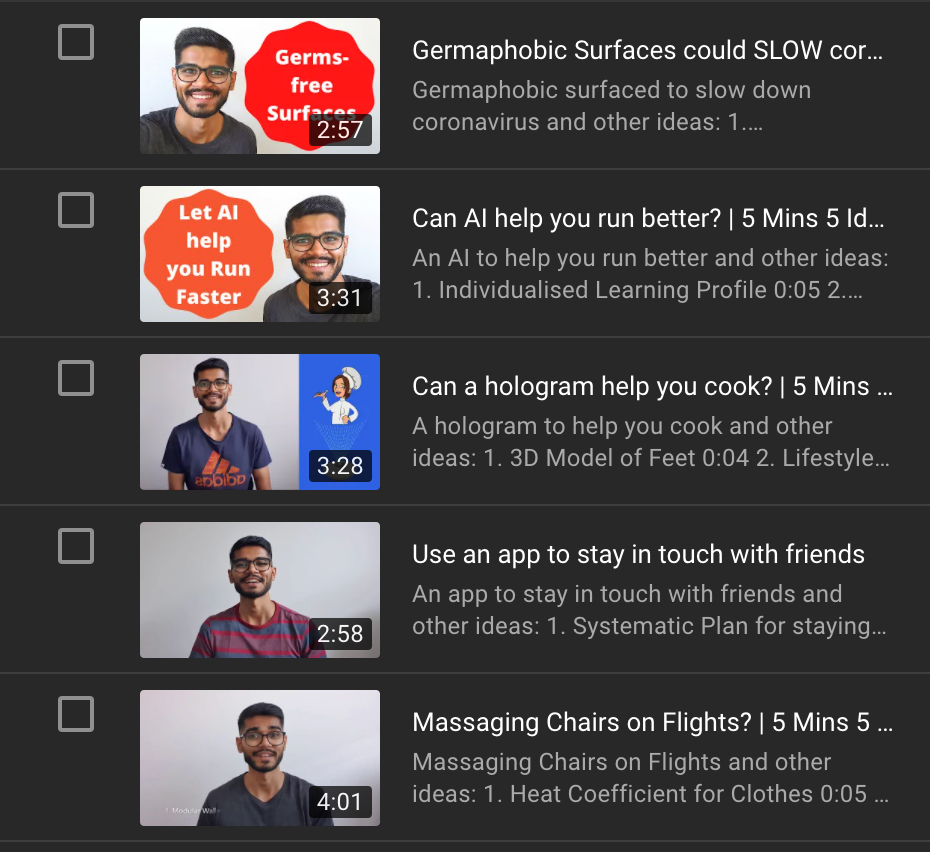
The thumbnail is as crucial as the title of the video. It can take a while to learn how to make a compelling thumbnail that is worth clicking. Figure 3 shows some of my earlier thumbnails. Let's just say that these didn't get many clicks.
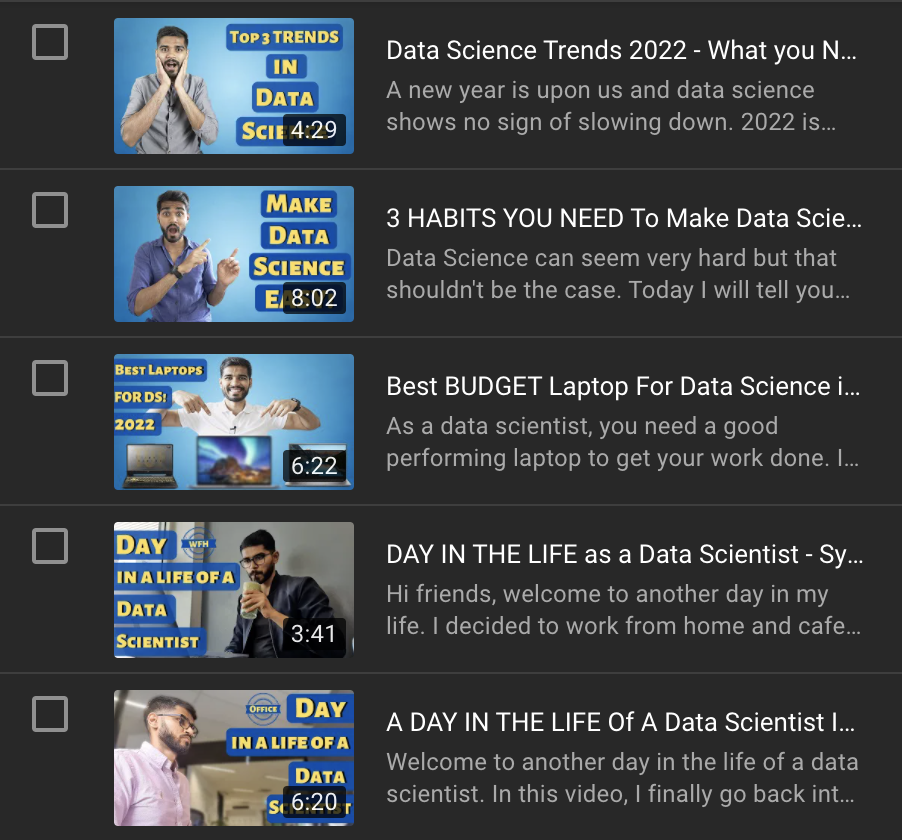
Eventually, after a few tries, I managed to find my own style of creating compelling thumbnails. You will have to try out a few styles to find what works for you.
After going through the steps here, you will have everything you need to upload the video to YouTube.
At the end of the day, each step is a process in refinement. As I continue my YouTube journey, I learn new things to upgrade each part of my workflow. The goal I set for myself for each video is to get 1% better in a given step compared to the previous video. 1% improvement leads to exponential improvement over the course of 1 year.